Managing team workloads effectively is one of the most critical aspects of successful project management. When workloads are balanced, deadlines are realistic, and team members are equipped with the right tools, productivity soars, and stress levels drop.
Microsoft Planner is a powerful tool designed to streamline project management, enabling teams to collaborate efficiently and meet their goals. However, leveraging its features to balance workloads requires strategy and best practices. Here are ten actionable tips to help you master your team’s workload effectively within the platform.
1. Start with a clear project plan
Every great project begins with a solid plan. Before assigning tasks or worrying about workloads, establish a clear project roadmap, setting clear objectives, timelines, and deliverables.
Break your project into smaller tasks or work packages. In Microsoft Planner, you can easily add tasks, assign durations, and align them with your project timeline. This clarity will serve as the foundation for efficient workload distribution.
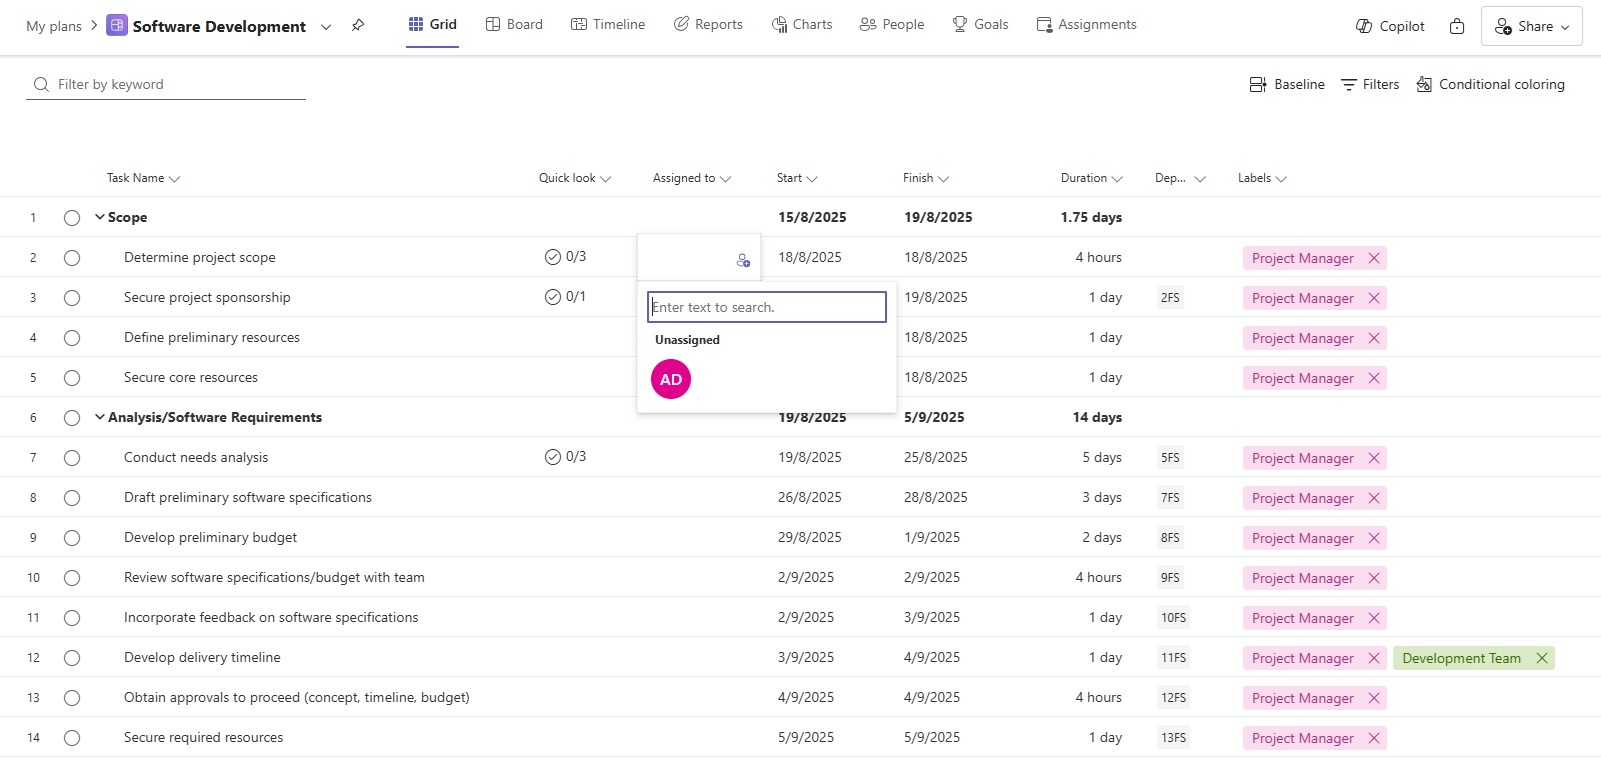
2. Use task assignments wisely
One of the most powerful features of Microsoft Planner is the ability to assign tasks to specific team members. But how you assign these tasks matters.
Avoid overloading any one person by evaluating the complexity, duration, and urgency of each task. Consider each team member’s skill set, capacity, and other commitments. If your project spans multiple departments or roles, communicate with team leaders to ensure assignments are reasonable.
By taking the time to strategically assign project tasks, you set your team up for success and avoid overburdening key contributors.
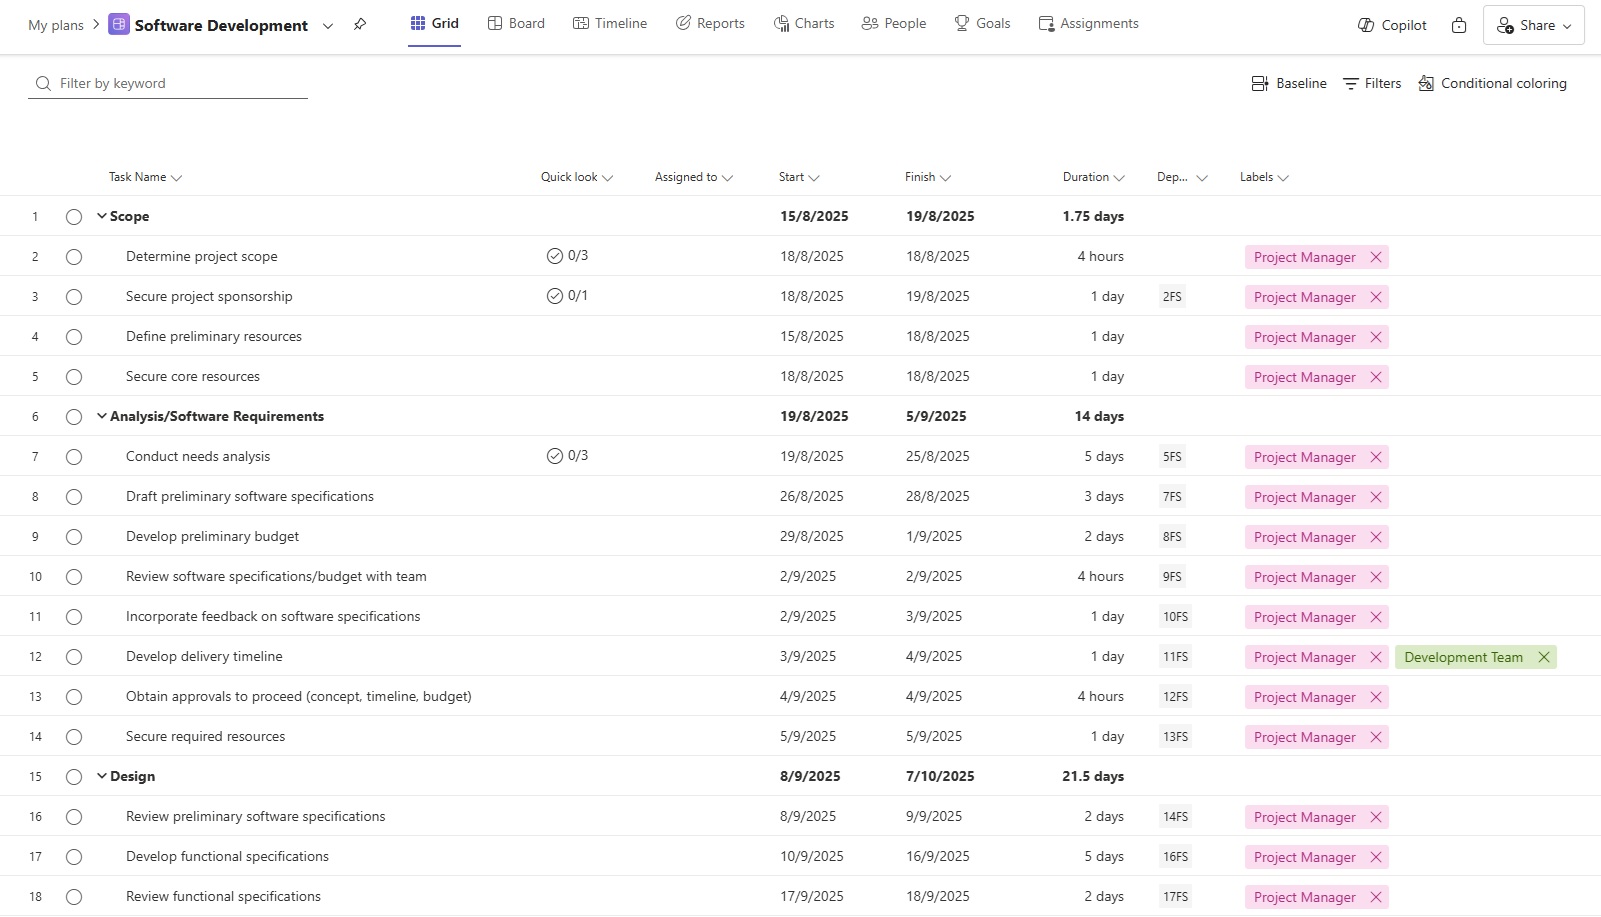
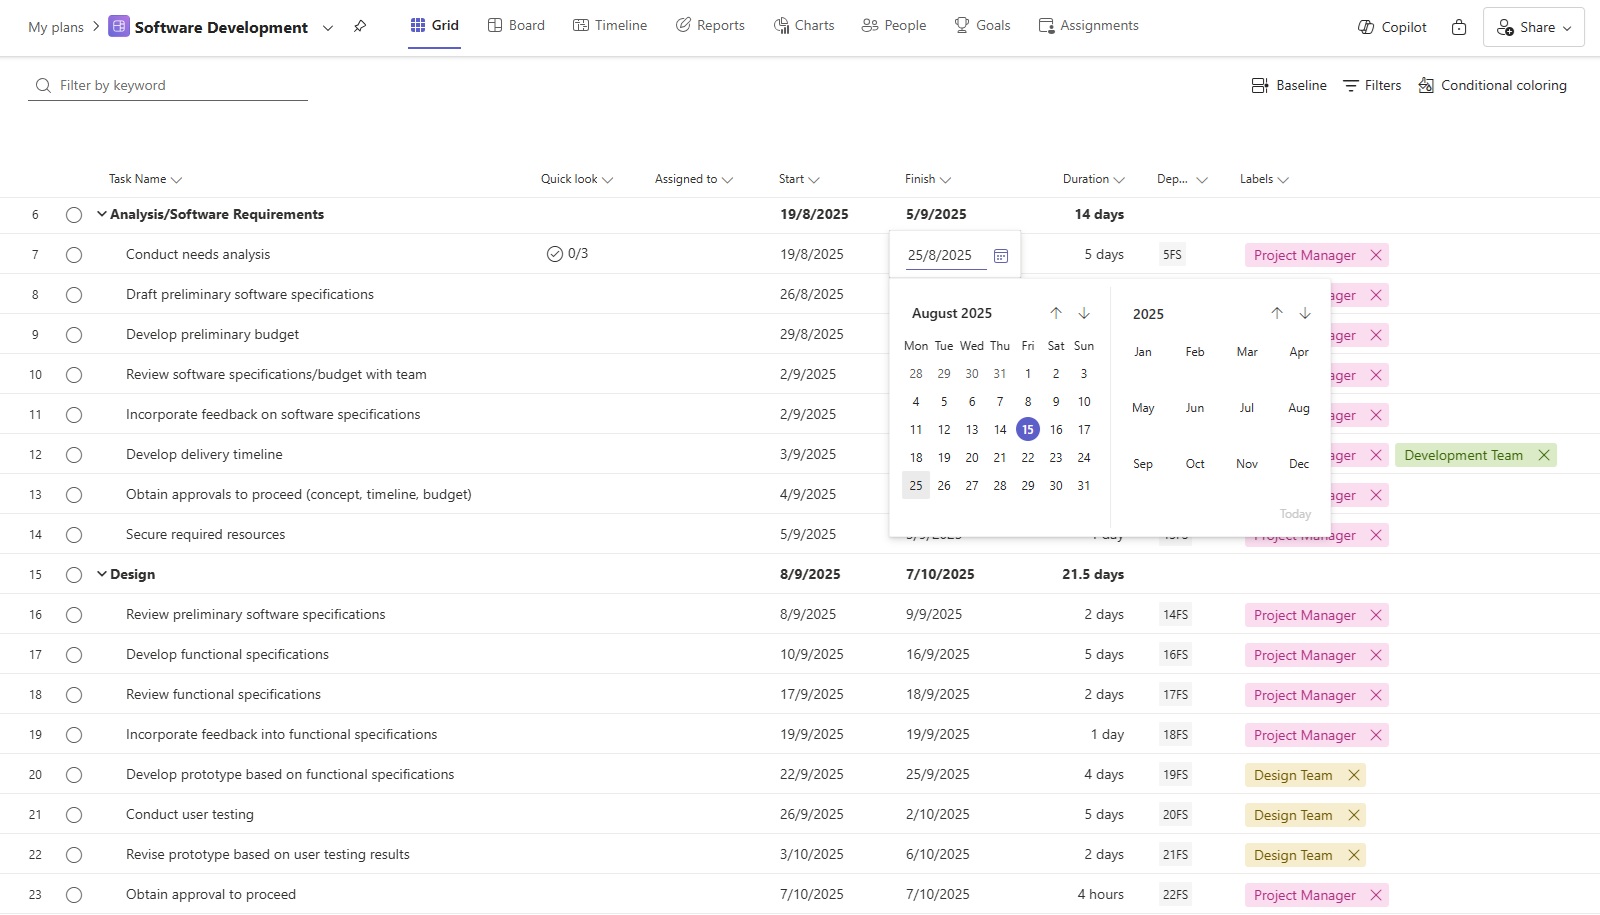
3. Leverage the Grid view for task details
The Grid view in Microsoft Planner provides a clear overview of tasks, deadlines, and assignments. Use this view to input detailed information, including dependencies, durations, and priorities.
By clearly defining the parameters of each task, you ensure everyone understands their responsibilities and deadlines.
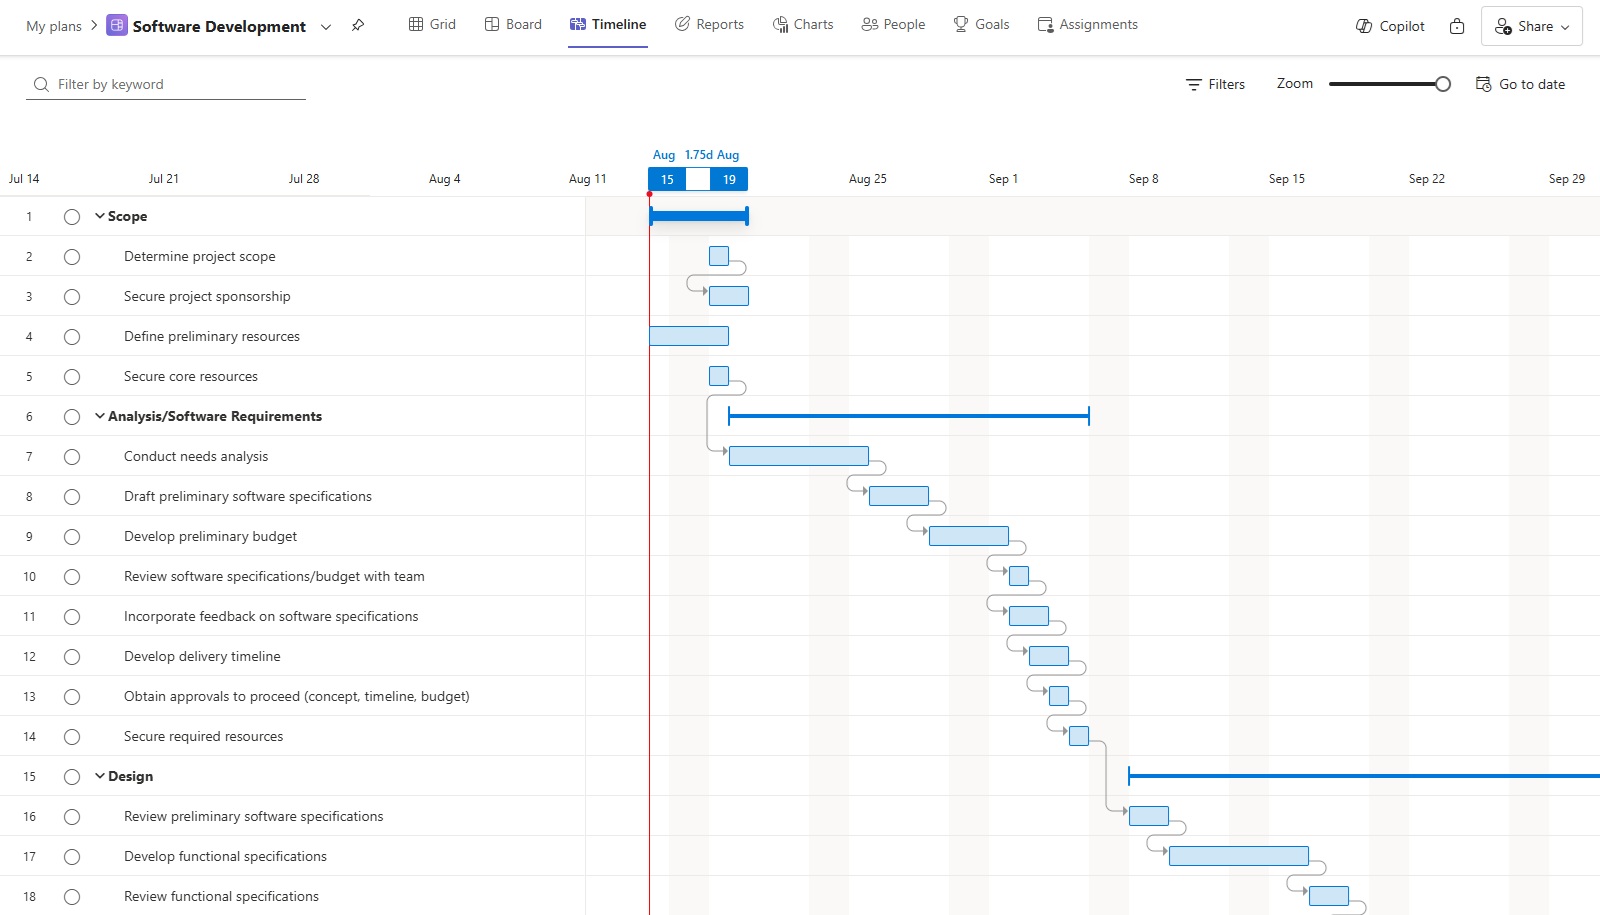
4. Visualize workload with the Timeline view
The Timeline view (or Gantt chart) is a valuable feature that provides a dynamic and visual representation of your project’s schedule. It provides a bird’s-eye view of task durations and overlaps, and is ideal for spotting potential conflicts.
For instance, if multiple high-priority tasks overlap, it may signal that team members are at risk of being overworked. Adjusting task schedules in this view is as simple as dragging and dropping, making it easy to optimize workloads and reduce bottlenecks.
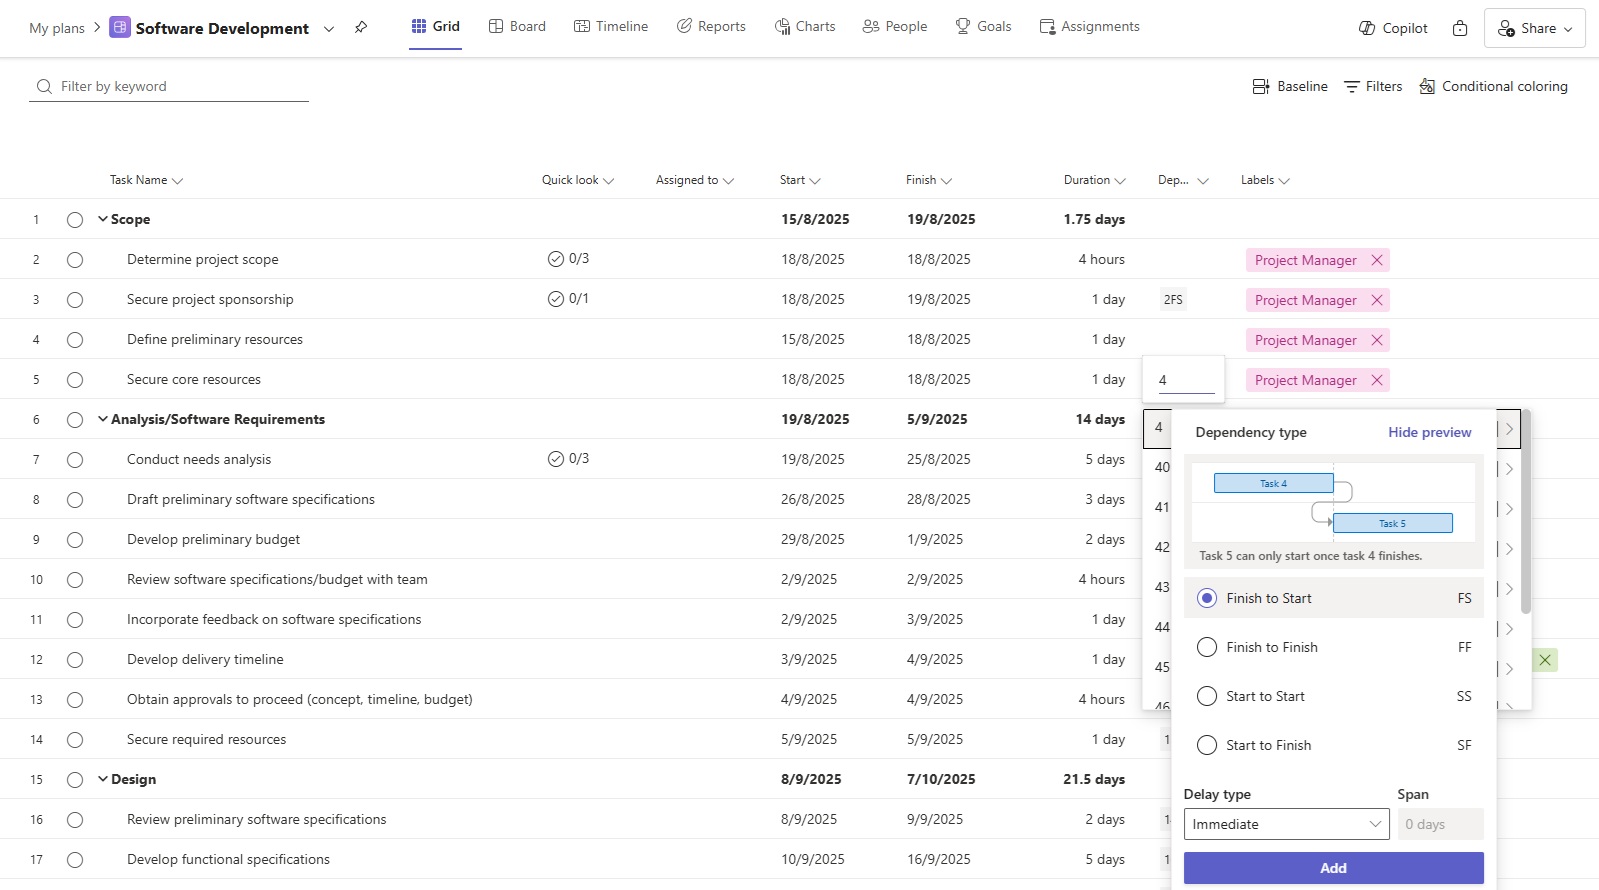
5. Enable task dependencies
Tasks often depend on the completion of others and the number of dependencies grows the more complex a project is.
Microsoft Planner allows you to link related tasks, ensuring that work progresses in the right sequence. This is particularly useful for preventing one task from starting before another is complete, helping your team focus on the right priorities.
For example, if task A is dependent on the completion of task B, linking these in the system ensures the team doesn’t prematurely shift focus. Dependencies also make it easier to identify critical paths in your project and adjust schedules to avoid delays.
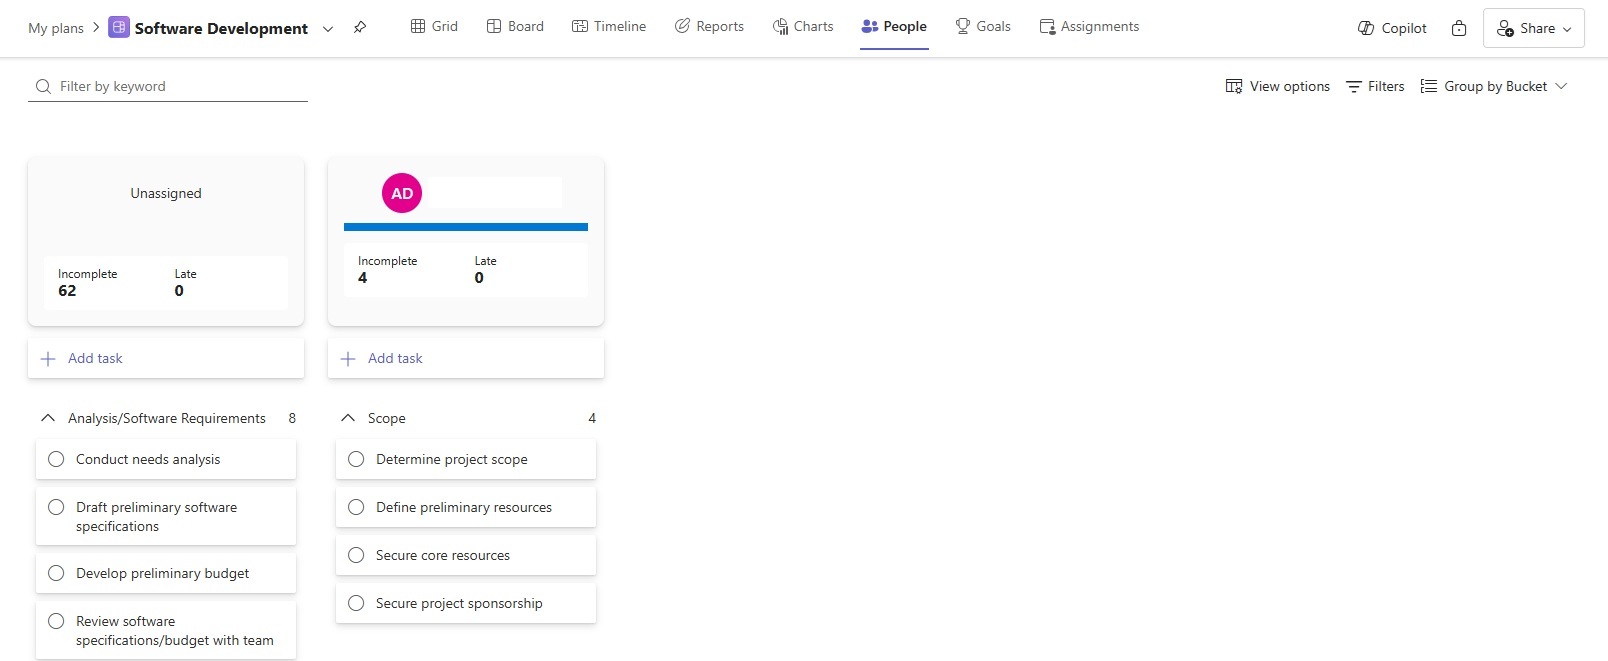
6. Track resource availability
Balancing team workloads requires a clear understanding of resource availability. Use Microsoft Planner to track which team members are overallocated and which have bandwidth to take on additional work.
Review the workload distribution frequently to ensure fairness and efficiency. If someone is overburdened, consider reallocating tasks to team members with lighter workloads to help prevent burnout and ensure tasks are completed on time.
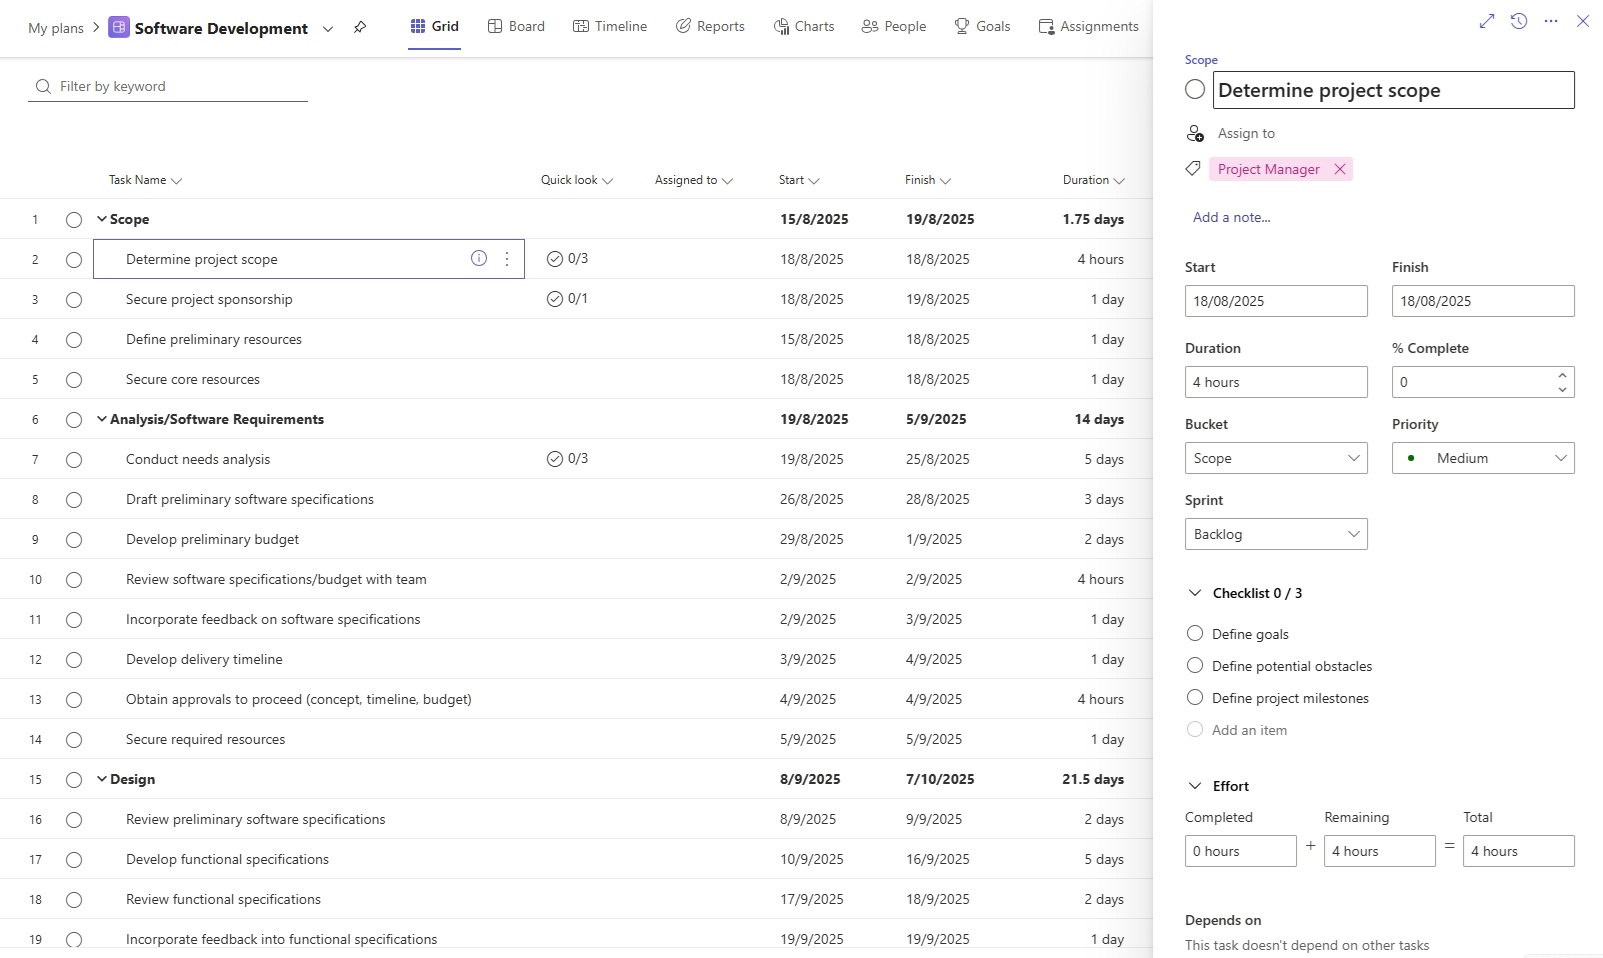
7. Set realistic deadlines
Deadlines are necessary for keeping projects on track, but unrealistic timelines can lead to frustration, poor-quality work, and missed deliverables. When setting deadlines in Microsoft Planner, take into account the complexity of each task and the workload of the team member responsible.
Consult your team before finalizing timelines to get their input and buy-in. Planner allows you to adjust deadlines easily, so don’t hesitate to revise the schedule if unforeseen challenges arise.
8. Communicate and collaborate
Effective workload management requires consistent communication. Planner integrates seamlessly with Microsoft Teams, allowing team members to discuss tasks and updates in real time.
Encourage your team to use Microsoft Teams for updates, questions, and progress reports, and use this integration to foster collaboration and ensure everyone is aligned on priorities. For example, if someone is stuck on a task, they can ask for help on Teams, avoiding delays.
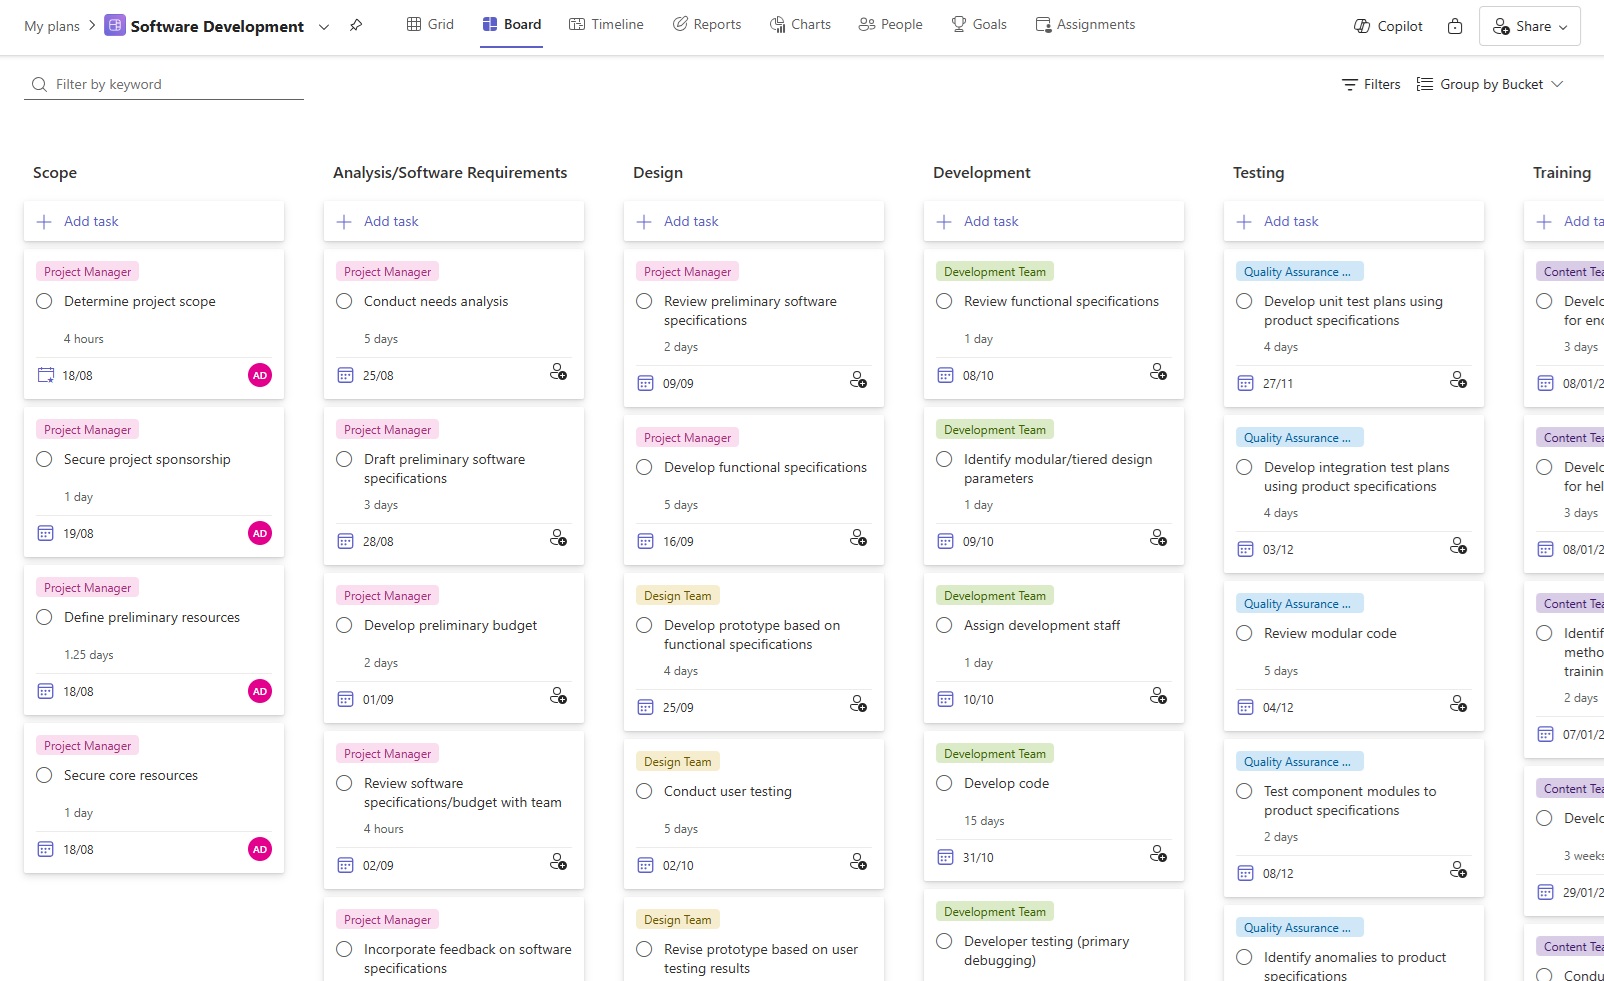
9. Review and adjust regularly
Project plans are rarely static, even the best-laid ones need adjustments since projects are dynamic, and team workloads fluctuate due to changing priorities, delays, or unexpected challenges.
Regularly review your team’s workload using the Board view to identify overdue or blocked tasks, workload imbalances, or areas where progress is lagging. Be flexible and make adjustments to keep the project on track.
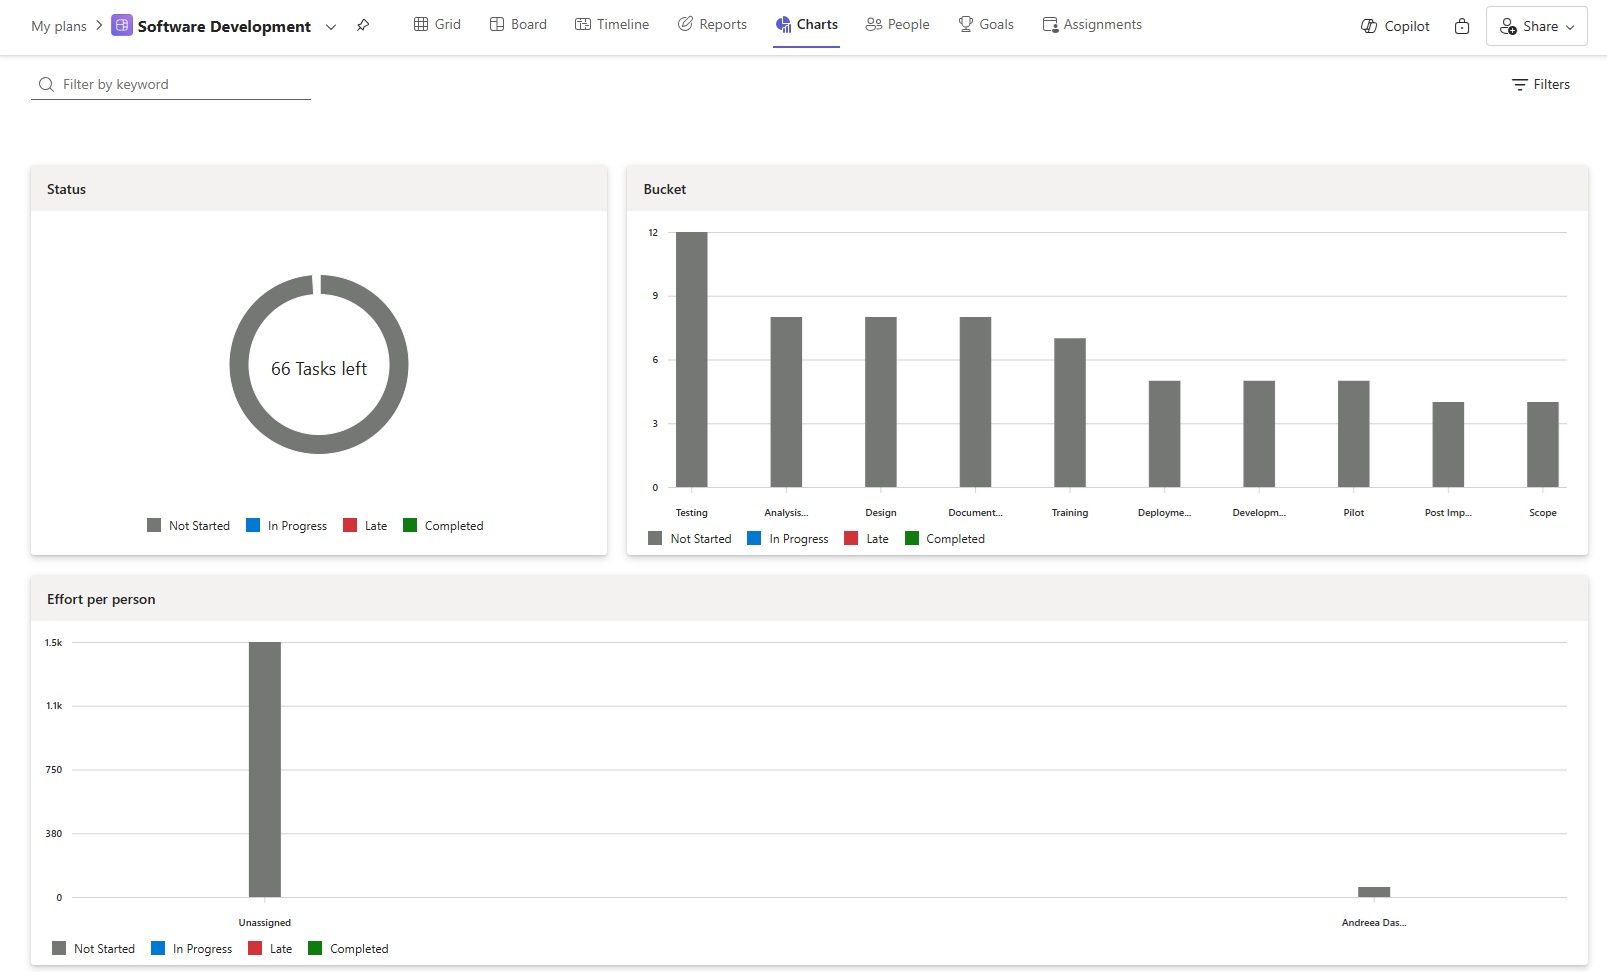
10. Use reports for insights
Microsoft Planner offers reporting features that provide insights into task progress, resource allocation, and overall workload distribution. Use these reports to analyse trends, identify risks, and make data-driven decisions to improve team efficiency and ensure long-term project success.
For example, if certain tasks consistently take longer than expected, you can adjust future estimates or provide additional support to the team.
This post was previously published on Medium.com.